Adventures in DIY
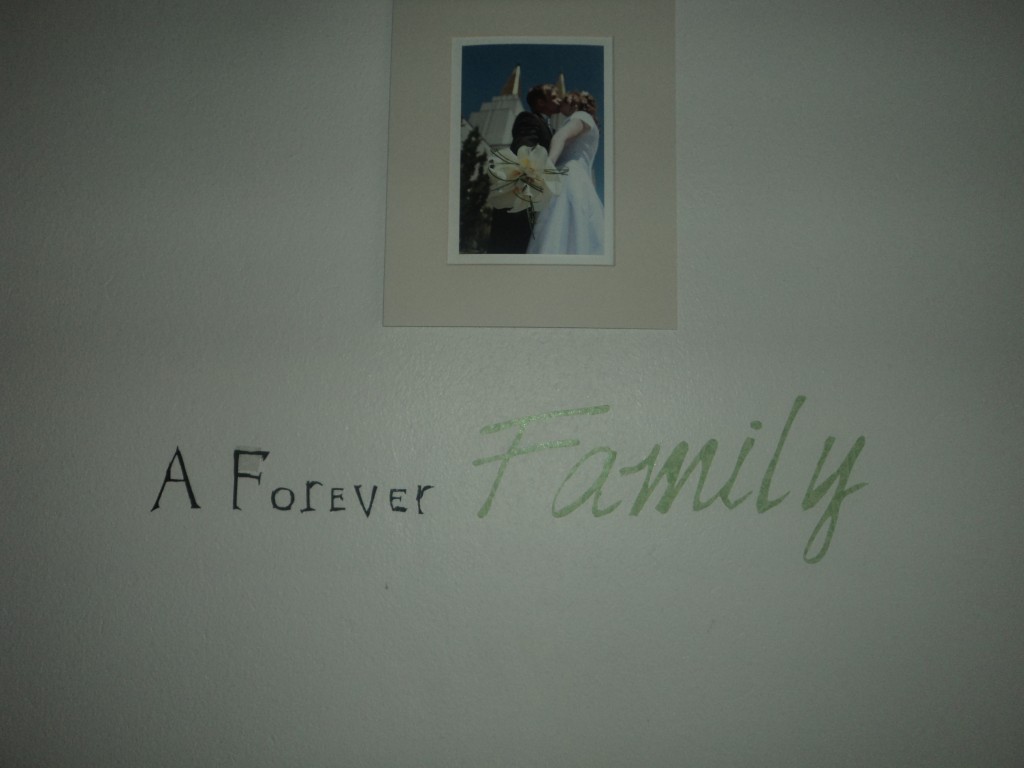
I have had my eye on one of these sticky wall dealies for a while. For someone who crafted their career with words, there is nothing much more appealing than slapping inspiring words on the walls around you.
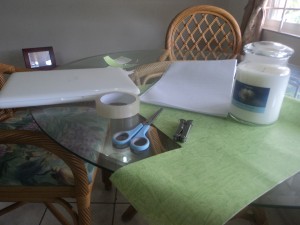
So I gathered a few supplies:
- Sticky shelving paper – AKA Contact Paper.
- Scissors
- A little Leatherman, Bowie knife, razor blade, glass shard. Get creative without getting tetanus.
- Tape.
- Flimsy, cheap, white paper and a pencil.
- A computer with a few of your favorite thick fonts (see Dafont.Com. Trust me, it’s amazing.)
- A surplus of free time. I suggest marrying a St. George’s University student. Sometimes found at your local hardware store.
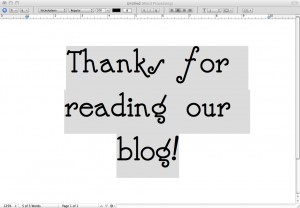
Find a good font that isn’t too wispy and type out what you want to say on your favorite Word Processor.
Take that wispy piece of paper, place it over your not-too-wispy font and trace lightly away with a pencil. If you have a printer, an easier thing to do would be to just print it out. We don’t have a printer here, so we do this step ghetto style.
Sans a printer, you can only make it as big as your computer screen. If you want it bigger, take it to campus, copy it and blow it up.
Now comes the time-consuming part. Tape your printout to the colored side of your shelving paper, pop in a season of Grey’s Anatomy and start cutting out your shapes.
A piece of paper taped to the wall is a good way to figure out if your letters are going in a straight line. Or you could use a level if you have one. We are the poor ghetto riggin’ Glenns who don’t own a legit level so I used the paper method. Once you have the basic words one the wall, use your shank to carve out the finer curves – without leaving too much of an imprint on your paint. On the concrete walls in Grenada, this wasn’t much of a problem.
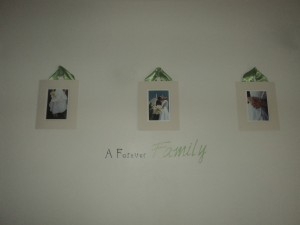
Boredom averted! Now what shall I do next …


2 Responses to Uh oh. Sarah got bored.